If you’re an embroidery shop owner, you already know that adding ball caps to your product offerings can elevate your business and expand your customer base. However, creating professional-looking embroidered ball caps can be challenging. Not to mention, finding the right tools and equipment can seem overwhelming. But don’t worry! With the right knowledge and tools, you can easily create beautiful ball caps that your customers will love.
In this guide, we will walk you through the process of creating ball caps with a professional embroidery machine. We’ll cover everything from choosing the right materials to adjusting your machine settings. By the end of this post, you’ll have the knowledge and confidence to add ball caps to your embroidery offerings.
The Avancé 1501C embroidery machine is the perfect tool for you. With its 15-needle design, it offers a large embroidery area of 22 x 14 inches and comes with a metal stand, jacketback hoop, four round hoops of different sizes, and a large tubular hoop of 30×30 cm. To top it off, the ColDesi DesignDeck Embroidery Software provides an easy way to get up and running quickly. Plus, free shipping in the continental U.S., 0% financing and $0 down* make this an affordable option for anyone looking to make great custom caps. So what are you waiting for? Let’s get started creating your own ball caps!
Key Takeaways
- The Avancé 1501C is a 15-needle commercial embroidery machine that comes with different hoops for different sizes of items, including a large tubular hoop and four round hoops of different sizes.
- The machine has an embroidery area of 22 x 14 inches, a digital LCD display of 10.1 inches, and a full-color touch screen.
- The ColDesi DesignDeck Embroidery Software is included with the machine, which streamlines the digitizing process.
- The machine can be financed for $205 a month with 0% financing and $0 down*, and free shipping* is available in the continental U.S. only. It is suitable for building a dream business in three simple steps.
Gather Materials and Tools
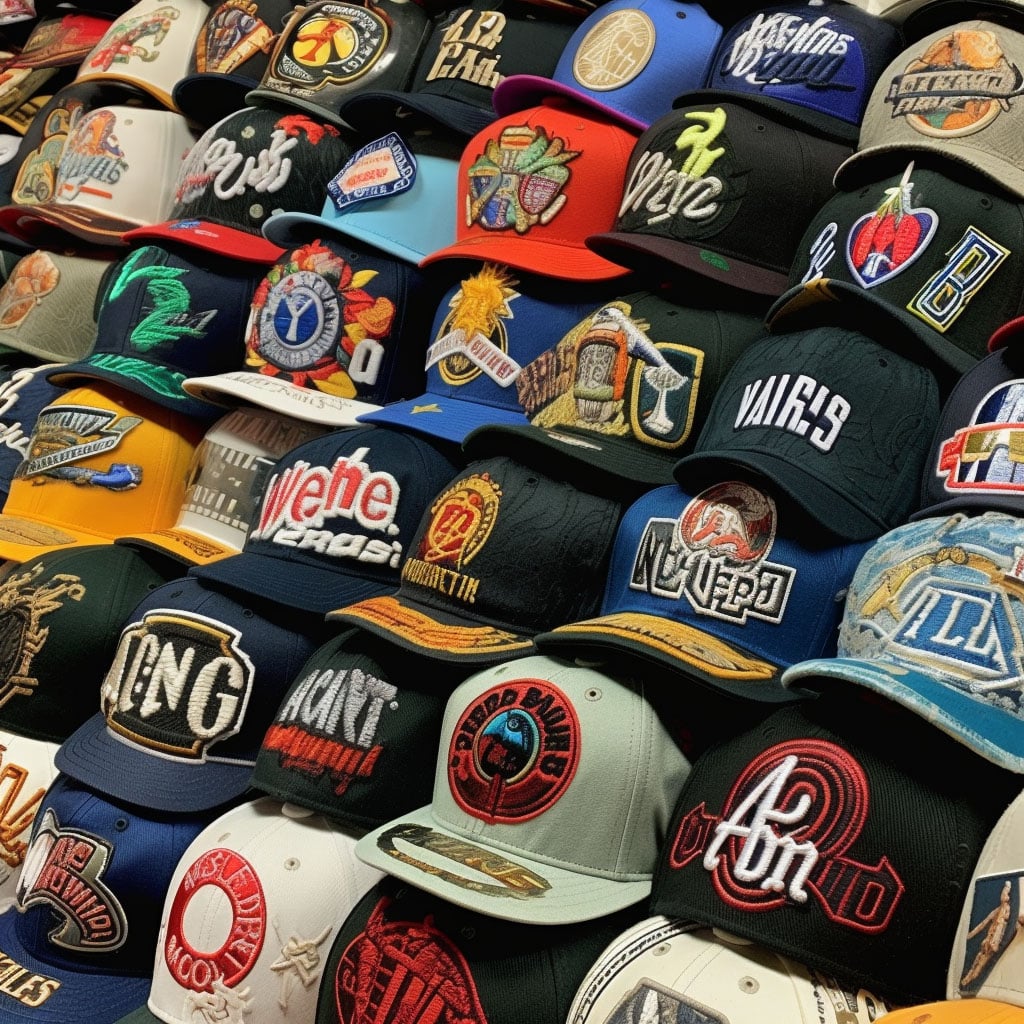
To get started, select from various cap styles to determine which hoop size will work best for your design. With a variety of thread colors and stabilizer types, you can create a unique look that will stand out from the crowd.
The first step in creating embroidered ball caps is to choose the right materials. You’ll need a ball cap made of sturdy, breathable fabric, and a high-quality embroidery thread that won’t fray or break easily. Also, be sure to choose a color that will compliment the color of the cap.
It is important to choose the right needle type as well to ensure that your thread is properly secured during the embroidering process. Professional level embroidery machines offer an extensive selection of needles for different fabrics and yarns so you can achieve optimal results with each project. With all these materials in hand, you’re ready to start the process.
Choose an Embroidery Design
Choose your design for a cap that stands out and make it unique with embroidery! Selecting the right design is key to creating a professional look. To get started, consider color coordination, digitizing options, and embroidery software when choosing an embroidery design. Here are some tips for selecting a great design:
- Look through catalogs of existing designs or create something custom specifically for your project.
- Use a combination of colors that coordinate with the cap fabric and other elements in order to create an eye-catching look.
- Utilize digitizing options such as fonts, lettering styles, size adjustments, density control and more to customize the design.
- Explore different types of embroidery software programs available to bring your ideas to life.
- Consider what customization possibilities best fit your vision for the final product.
When selecting an embroidery design for a ball cap you should take into account several factors including color coordination, digitizing options, embroidery software, and customization possibilities in order to ensure that you end up with desirable results. With these tips in mind you can be sure that the final product will be one of high quality and appeal that will turn heads wherever you go!
Load the Design onto the Embroidery Machine
Once you have chosen an eye-catching design, it’s time to load it onto the machine so that you can start stitching your masterpiece. To do this, first make sure the embroidery software you are using is compatible with the file format and USB transfer protocol of your machine.
Most machines come with their own proprietary software and design file format, so be sure to check the compatibility before attempting to transfer any designs. If there is an issue with compatibility or a problem with transferring files from one device to another, you may need to troubleshoot some settings on both devices.
The next step in loading a design onto the machine. for the Avance 1501C, a common option is to connect it via USB cable or wireless connection protocol (upgrade on some models). Then, simply upload your desired design file into the software program and select the design from the high quality custom LCD screen.
This should automatically send your design over to your embroidery machine where it will be ready for you to stitch out. You will then need to pick the colors you want for each part of your design and the on-screen display will help you with that.
Make sure to always double-check all settings and connections prior to starting any project so as not to encounter any unexpected problems while in use. Moving on.
Position and Stabilize the Cap
Before beginning to stitch, you need to position the cap securely and stabilize it in place. This requires selecting an appropriate hoop for the job, stabilizing material, and a cap frame.
Professional embroidery machines have the 270 degree cap frames which allow you to sew on both the front and sides of the cap with one hooping.
Hoop the cap with the bill facing up, and make sure it’s centered inside the hoop. Tension is essential when hooping
When hooping caps with an embroidery machine, there are several types of stabilizers that can be used depending on the type of fabric and desired results. A tearaway or cutaway stabilizer should be used when stitching on lightweight fabrics like cotton twill or polyester mesh.
A water soluble stabilizer is typically used, which will help keep the thread on top of the design from falling into the cap. Additionally, a heat-resistant iron-on stabilizer may also be used when working with soft form ball caps or hats.
It is important to ensure that both sides of the cap are stabilized correctly; otherwise your stitches may not appear even across both sides of the fabric surface. Following these steps will help improve your overall embroidery experience when creating ball caps with your professional embroidery machine.
Embroider the Design
Once all of these steps are completed, it’s time to start embroidering! Place your cap into the hoop and make sure that everything is secured tightly so that there won’t be any shifting during the sewing process. You can adjust settings such as speed, tension, and other parameters until you find something that works well with your project. However, its not necessary to use multiple needles in order to finish complex designs quickly and efficiently.
The last step is checking for any missed stitches or errors before taking out your finished product from the machine. Remember to take care when removing each item from its hoop so that no threads get damaged or tangled up during this process. With a little practice and patience, you’ll soon be able to embroider caps and hats on your professional embroidery machine. You can also check out other processes like DTG Printing once you get good with embroidered ball caps.
Keep at It, Creating Ball Caps with Your Professional Embroidery Machine Takes Practice.
Creating embroidered ball caps can seem like a daunting task. Still, with the right materials and equipment, along with some knowledge on hooping and machine settings, you can create professional-looking ball caps that your customers will love.
You’ve done it! Of course follow all the trainings and instructions that come with the machine when sewing out ball caps. This article is just a short rundown of the basics. But, with the right tools and training, you can create high-quality caps that will last for years.
Now you can show off your skills to friends and family, or even start up a business creating custom caps. Thanks to the Avancé 1501C, you have the perfect machine for taking on any project. So don’t wait – get started now and see what amazing designs you can come up with!
*Actual price and payments may vary based on credit qualifications. Talk to an embroidery pro for price, payment, and complete details. Free shipping in continental U.S. Only. Cannot be combined with any other offers or specials.